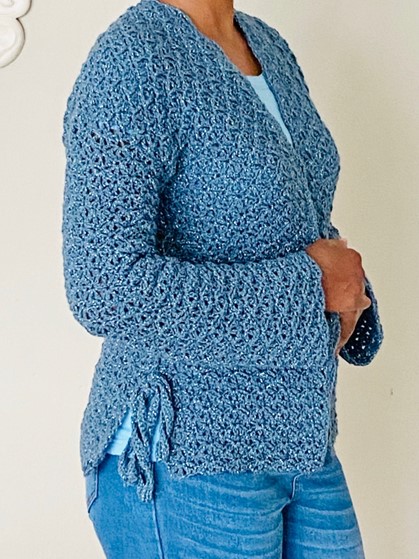
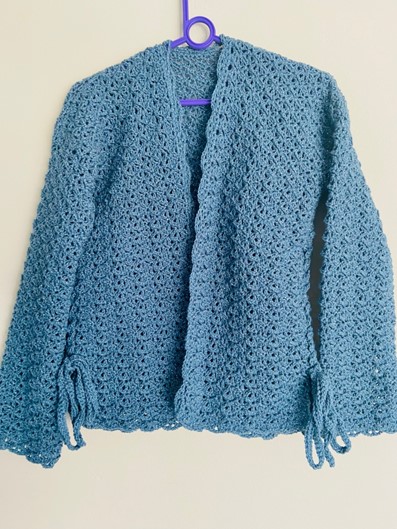
I wanted something different for this cardigan. I wanted to add more elements of femineity to this pattern. I think I’ve achieved that with the stitch pattern I’ve chosen and then there’s those ties at the sides too that add a touch of femineity. – I’m at least hoping I did! The sides of this cardigan are left unstitched, it’s those ties that hold it together. Here’s an easy pattern that comes along with a video tutorial should you need it!
Pattern Notes
- The Crochet Patterned Cardigan with Side Ties pattern is for sizes XS, S, M, L, XL (sizes in order as stated/ in parentheses) It’s best to highlight the size you are making to avoid confusion
- This pattern makes use of US crochet terminology
- Measurements are in inches and centimetres
- Stitch pattern is in multiples of 6 + 1 or + 2 for the foundation chain
- dc-ch2-dc-ch2 = all into one stitch
- Throughout the pattern R2, R3 and R4 are repeated – these Rounds are the same as for the Back pattern instructions
Measurements to fit chest/ bust
- XS 28” – 30” or 71cm – 76cm
- S 32” – 34” or 81cm – 86cm
- M 36” – 38” or 91cm – 96cm
- L 40” – 42” or 101cm – 106 cm
- XL 44” – 46” or 111cm – 117cm
Stitches and Abbreviations
ch/ ch’s = chain/s
st/ st’s = stitch/ stitches
sc/ sc’s = single crochet/ s
dc = double crochet
sk = skip
sl st = slip stitch
WS = Wrong side
RS = Right Side
R = Round
SM = Stitch marker
Materials
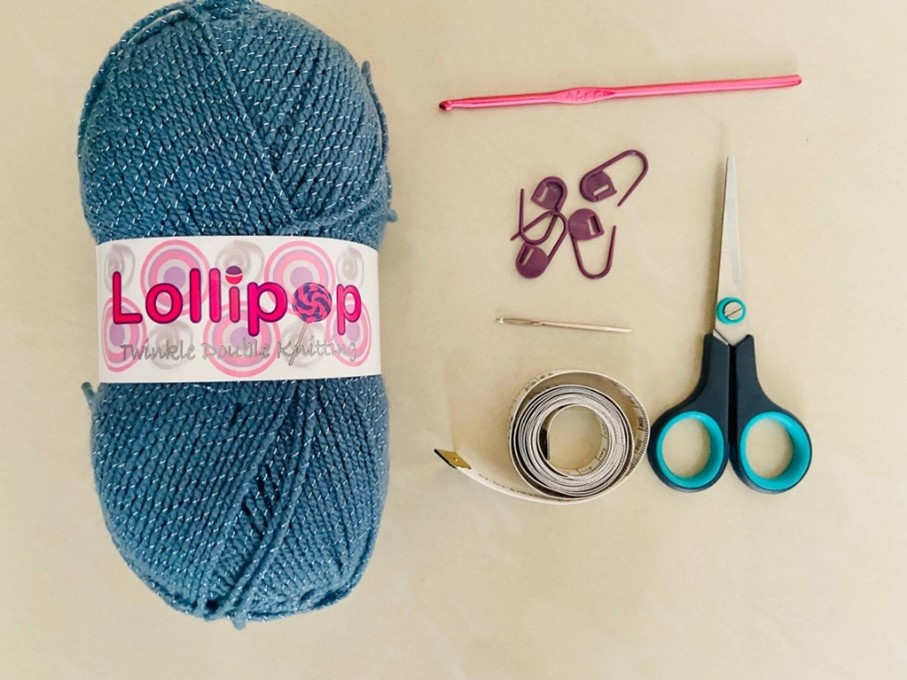
Yarn/ wool – light worsted/ Double Knitting – (4, 4, 4, 5, 5) skeins/ balls
4,5 mm crochet hook
Scissors
Stitch markers
Measuring tape
Yarn/ wool needle
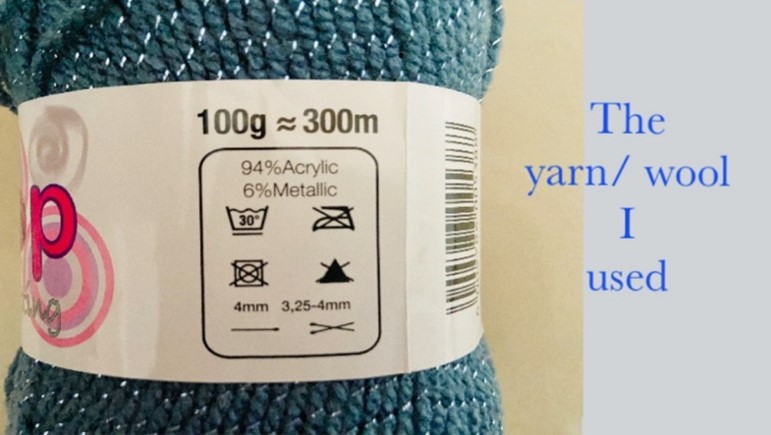
Gauge
4” x 4” or 10cm x 10cm
3 x repeat (dc-ch2-dc-ch2-dc), 10 R
Video Tutorial
Check out https://youtu.be/SNAcCU_H5Ys
The video tutorial is for a size Medium
Pattern
Back
ch 62, 74, 86, 98, 110
R1
(Working into the “bumps” from the ch on the WS), sc into the 2nd “bump” from the hook, sc into the remaining “bumps”
R2
ch1, turn
sc into the same st as ch1, *sk2, dc-ch2-dc-ch2-dc into next st, sk2, sc*
Repeat from*to* ending with the sk2, sc into the last st
R3
ch5 (counts as a dc and ch2), turn
dc into same st as ch5, *sk 1dc, sc into next dc, sk 1 dc, dc-ch2-dc-ch2-dc into next sc from previous R*
Repeat from *to* ending with sk 1 dc, sc into next dc, sk 1 dc, dc-ch2-dc into last st
R4
ch1, turn
sc into the same st as ch1, *dc-ch2-dc-ch2-dc into next sc, sk 1 dc, sc into next dc, sk 1 dc*
Repeat from*to* ending with dc-ch2-dc-ch2-dc into next sc, sk 1 dc, sc into ch3 from ch5
R5 – R54, R56, R58, R60, R62 (or until required length)
Repeat R3 and R4
Fasten off – cut off excess yarn
Front
Turn the back panel so the bottom becomes the top (notice stitches running along the top edge – which was initially the start (foundation chain) of the back
Count 25, 31, 37, 43, 49 stitches and mark off with a SM each on either side along the top edge – counting from the outer edges, inwards
Front Side (1)
Attach yarn to the top edge of the piece, ch1
Repeat R2
Repeat R3 and R4 to complete Front Side (1) making certain that the length is the same as the length of the back
Fasten off – cut off the excess yarn
Front Side (2)
Attach yarn to the stitch marked by SM2, ch1
Repeat R2
Repeat R3 and R4 to complete Front Side (2) making certain that the length is the same as the length of the back
Fasten off – cut off the excess yarn
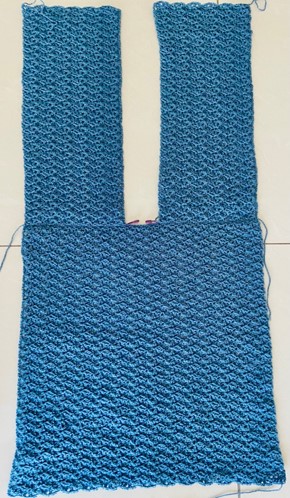
Sleeve
With the Front panels folded on top of the back panel, measure from the fold, downwards along the sides
XS 6,5” or 16,5cm
S 7” or 18cm
M 7,5” or 19cm
L 8” or 20,5cm
XL 8,5” or 21,5cm
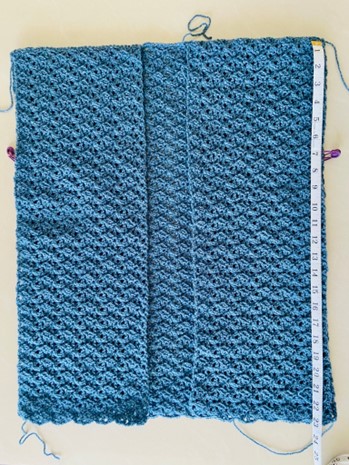
7” or 18cm for a size Small
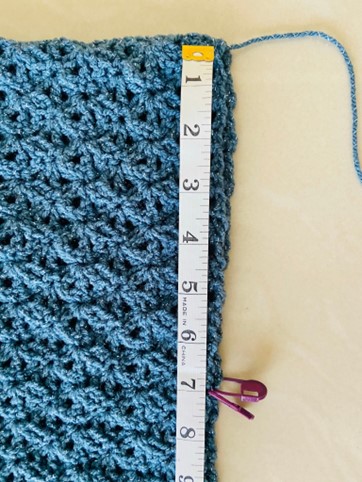
Attach yarn to the st marked by the SM, ch1
Work (43, 49, 55, 61, 67) sc’s – from SM1, stopping at the st marked by SM2
Repeat R2
Repeat R3 and R4 to complete the sleeve to the required length
Fasten off – cut off the excess yarn – leaving a long tail to seam up the sides of the sleeve
Seam up the sides of the sleeve working past the underarm to about 2” or 5cm down the sides of the cardigan
Repeat for the other sleeve
Side Ties/ Bands
Attach yarn to the side of the cardigan at the point where we stopped seaming
ch 110, 120, 120, 130, 130
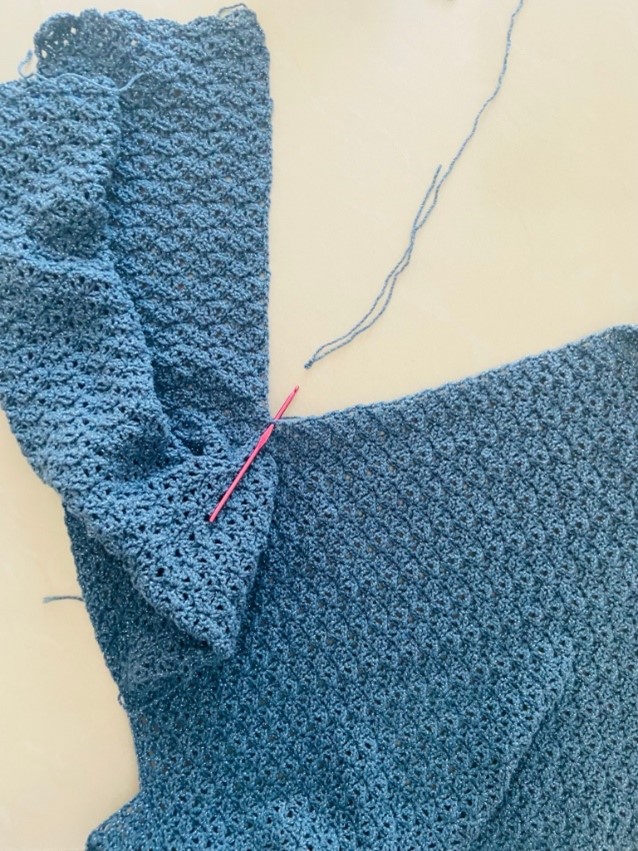
Attach yarn to just under the underarm- along the side of the cardigan
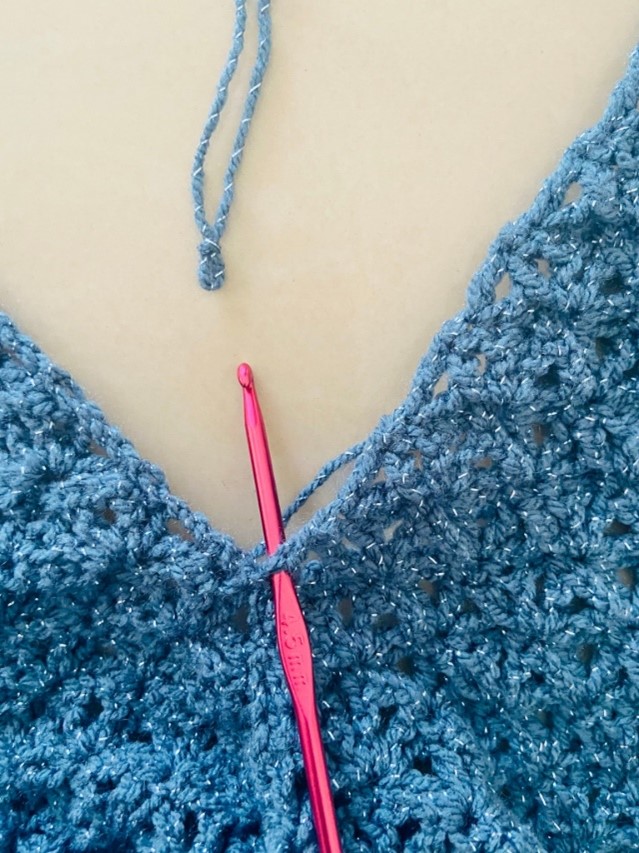
Attach yarn to the point where seaming stopped

ch 120 for a size Medium
Into the 2nd ch from the hook – sc, sc remaining ch’s – sc into the point where we stopped seaming – continue to ch 110, 120, 120, 130, 130, into the 2nd ch from the hook – sc, sc remaining ch’s – once complete – secure with a sl st into the point where we stopped seaming
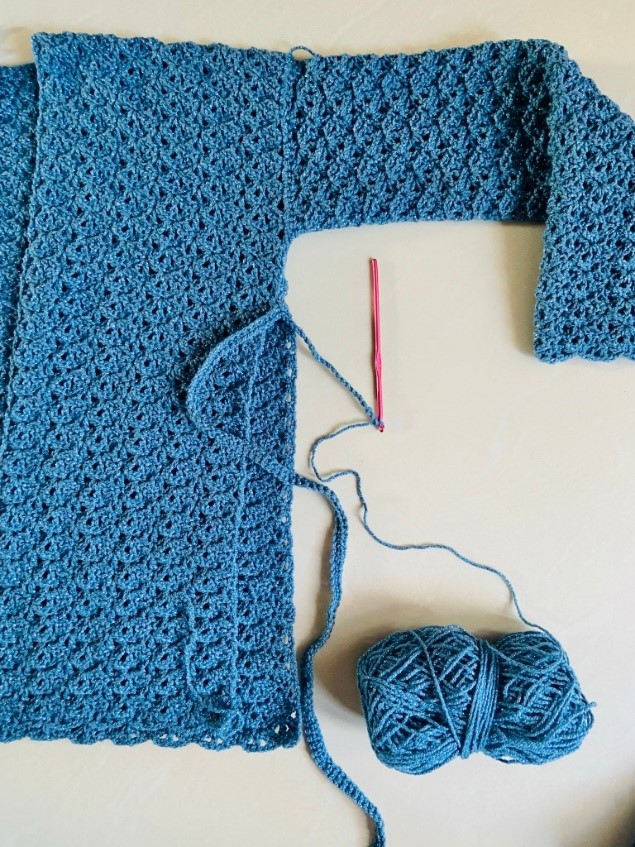
Ties/ bands – work in progress
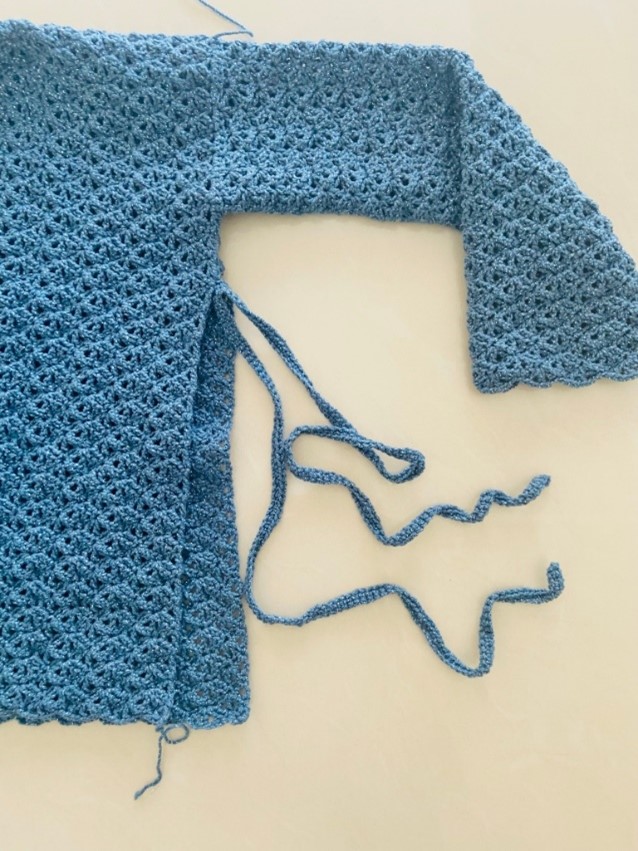
Ties/ bands complete
Fasten off – cut off the excess yarn
Repeat for the other side
Weave in the side ties/ bands into the “holes” formed by the stitch pattern along the sides of the cardigan. Form a bow tie at the end
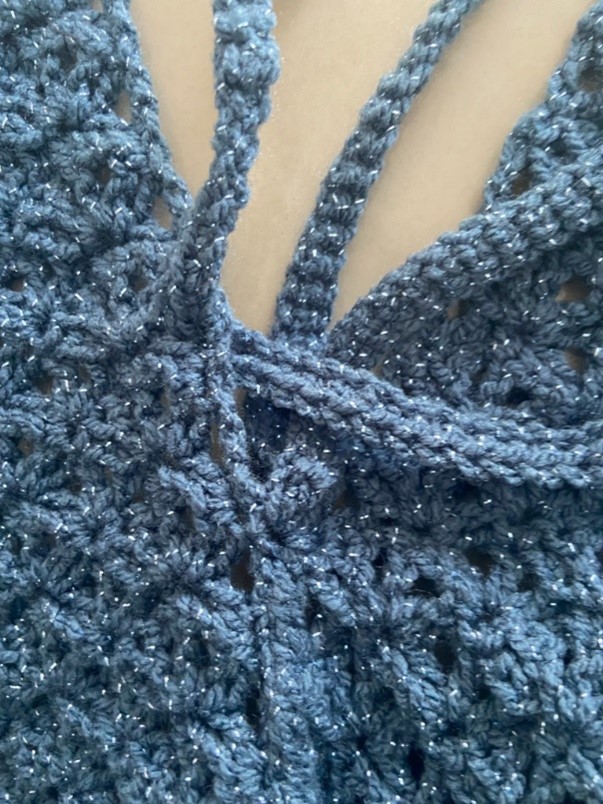
Weaving in the ties/ bands
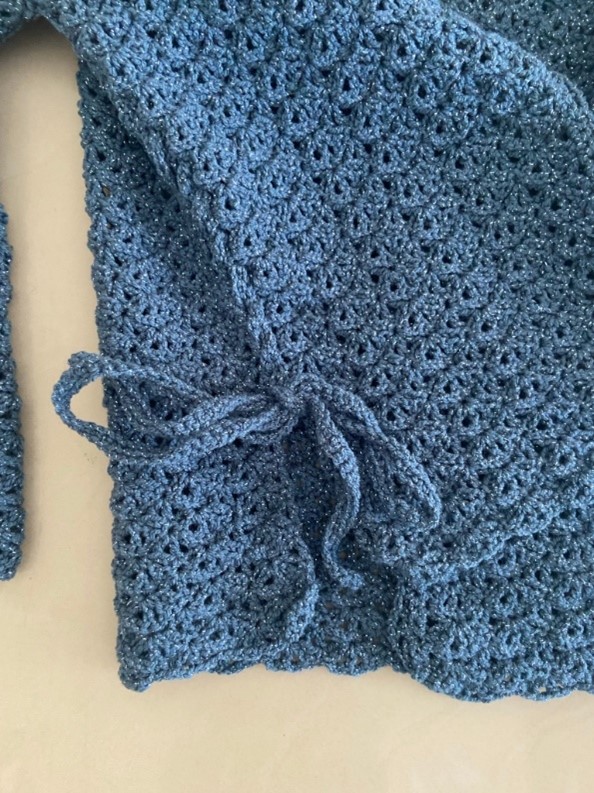
Ties/ bands weaved into the “holes” formed by the stitch pattern
Edging along the front of the cardigan
Attach yarn to the bottom front edge of the cardigan – sc to the bottom front edge on the other side – make certain that the stitch count is in multiples of 6 + 1
Repeat R2
Fasten off – cut off the excess yarn
Weave in all the ends
Crochet Patterned Cardigan with Side Ties… all done!
Happy crocheting

