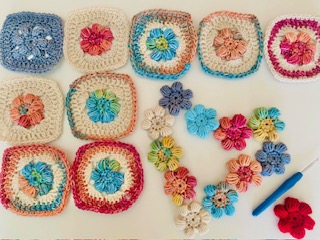
Believe it or not, this is my first ever granny square. I have never made one before! I, myself am shocked! Now I can proudly say that I’ve made a couple dozen of these cuties. Once I got the hang of it, I was hooked 😉
Pattern Notes
- This pattern makes use of US crochet terminology
- sl st-ch2-Puff = means work a slip stitch, chain2, Puff stitch all in one stitch
- dc6 = means work 6 double crochets all into one stitch (the number after the stitch)
- 7/ 8dc = means work 1 double into each of the next 7/ 8 stitches (the number before the stitch)
- V stitch = means dc-ch1-dc all into one stitch
- 8/ 10sc = means work 1 single crochet into each of the next 8/ 10 stitches
- sc-ch1-sc = means work single crochet, ch1, single crochet all into the ch1 space
Special Stitches
- Puff Stitch (Puff)
yo, insert hook into stitch, pull up a loop – elongate the loop slightly, *yo, insert the hook into the same stitch, pull up a loop – elongate the loop* Repeat from *to* four more times, yo, go through all loops an the hook, ch1 to secure
Video Tutorial
Need help with the pattern, check out
Stitches and Abbreviations
ch/ ch’s = chain/s
st/ st’s = stitch/ stitches
hdc = half double crochet
dc = double crochet
Puff Stitch = Puff
sc = single crochet
V st = V Stitch
sk = skip
sk2 = means skip 2 st’s
sl st = slip stitch
sp/s = space/es
WS = Wrong side
RS = Right Side
R = Round
yo = yarn over
Materials
Yarn/ wool – 100% Acrylic Double Knit/ category 3/ light worsted (use multi-tones and solid colours as desired)
4mm crochet hook
Scissors
Yarn/ wool needle
PATTERN
Flower Puff
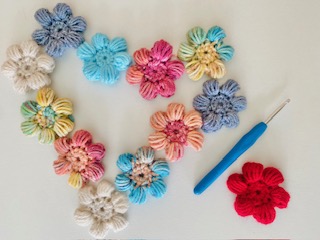
Form a magic Ring – see video tutorial
OR
ch4, sl st to join to form a small ring (work R1 into the centre of the ring)
R1
ch1 (does not count as a st), hdc12 into the ring, sl st to join
Note: pull on the tail end to tighten
R2 (WS)
ch2, into same st as ch2 – Puff, ch2, *sl st, sl st-ch2-Puff*
Repeat from *to* ending with ch2, sl st
Note: each Puff counts as a petal – there are 6 petals in total
Fasten off, cut off excess yarn, Pull the tail end to the WS – tighten and weave in ends
Flower Puff Granny Square
Change colours as desired – see video tutorial
Choose a petal – at the top of the petal attach yarn into the stitch at the top centre of the petal
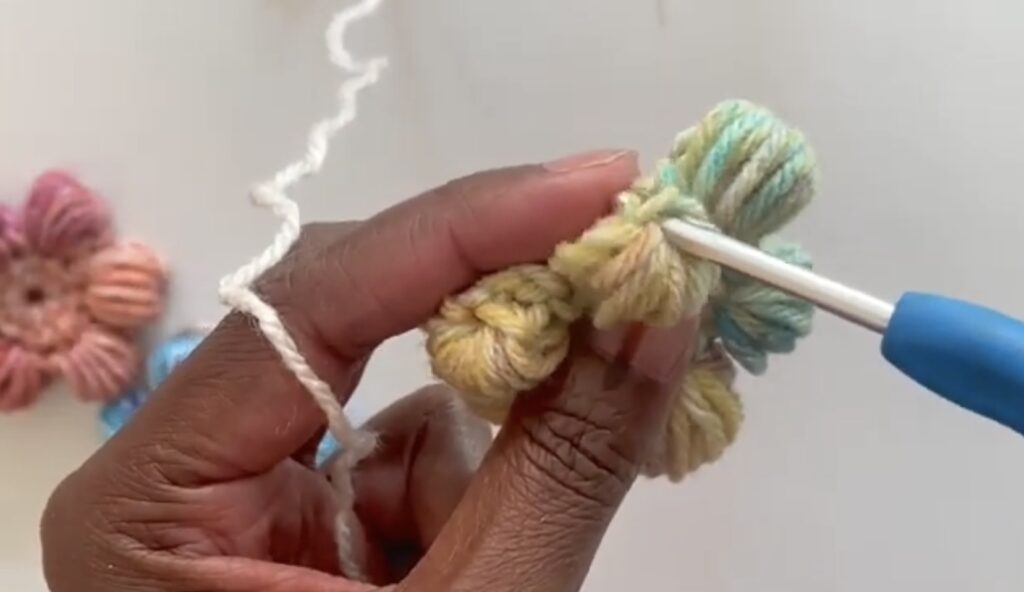
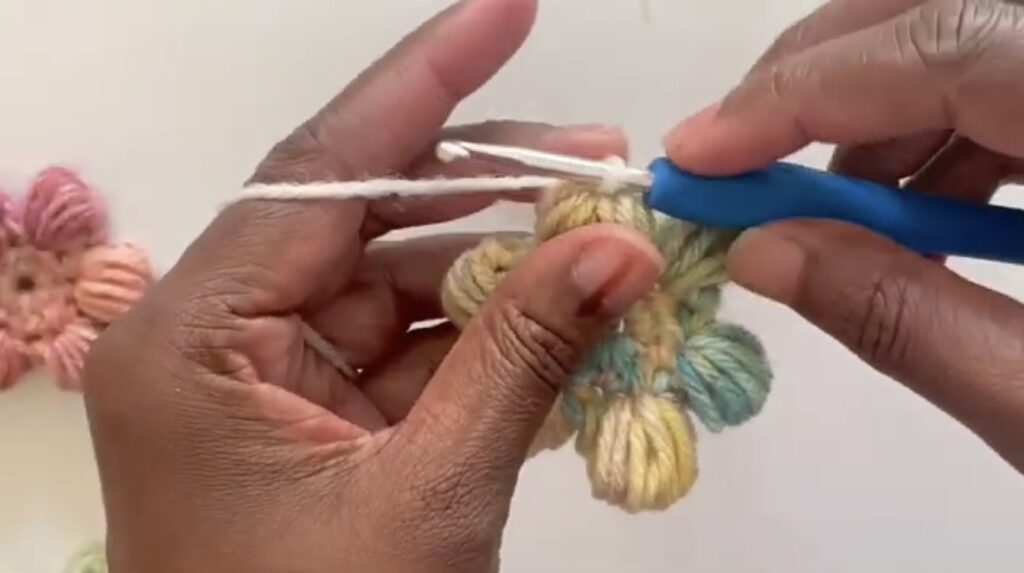
R1
ch2 (does not count as a stitch), into same st as ch2 – *dc6*
Repeat dc6 into each petal (top stitch), sl st to join

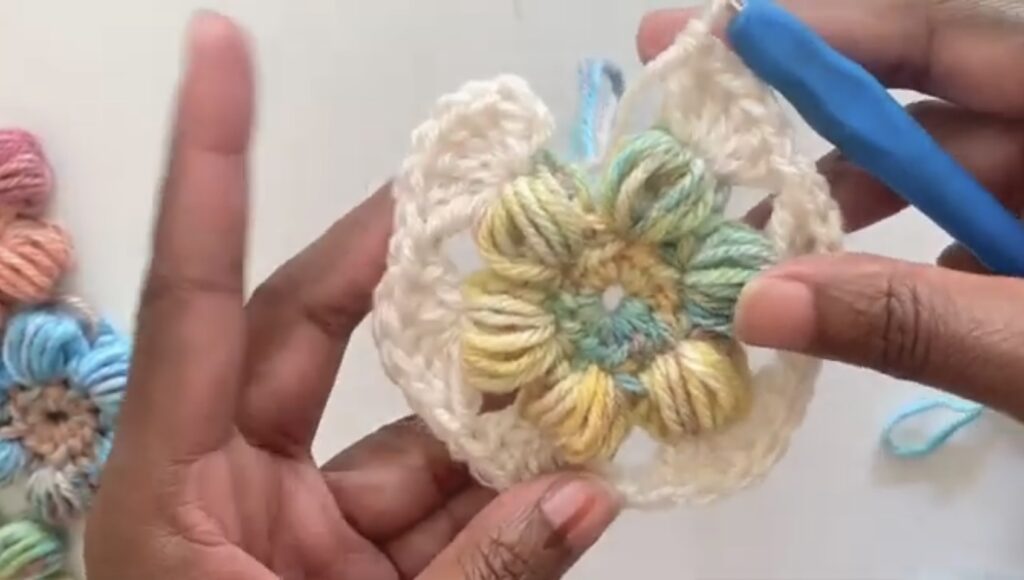
R2
ch2 (does not count as a st), into same st as ch2 – dc, 7dc, V st, *8dc, V st*
Repeat from *to* ending with a sl st into the first dc to join
R3
ch1 (does not count as a st) into the same st as ch1 – sc, 9sc, sc-ch1-sc into ch1 sp, *10sc, sc-ch1-sc into ch1 sp*
Repeat from *to* ending with sc into last st, sl st to join
Note: remember to work your stitches into the dc’s that make up the V st as well
Fasten off, cut off excess yarn, weave in all ends
Check out my video tutorial on how to block granny squares

