Pattern Notes
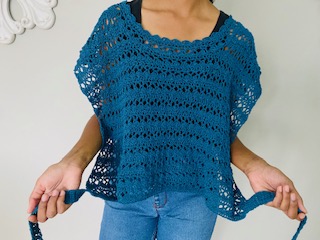
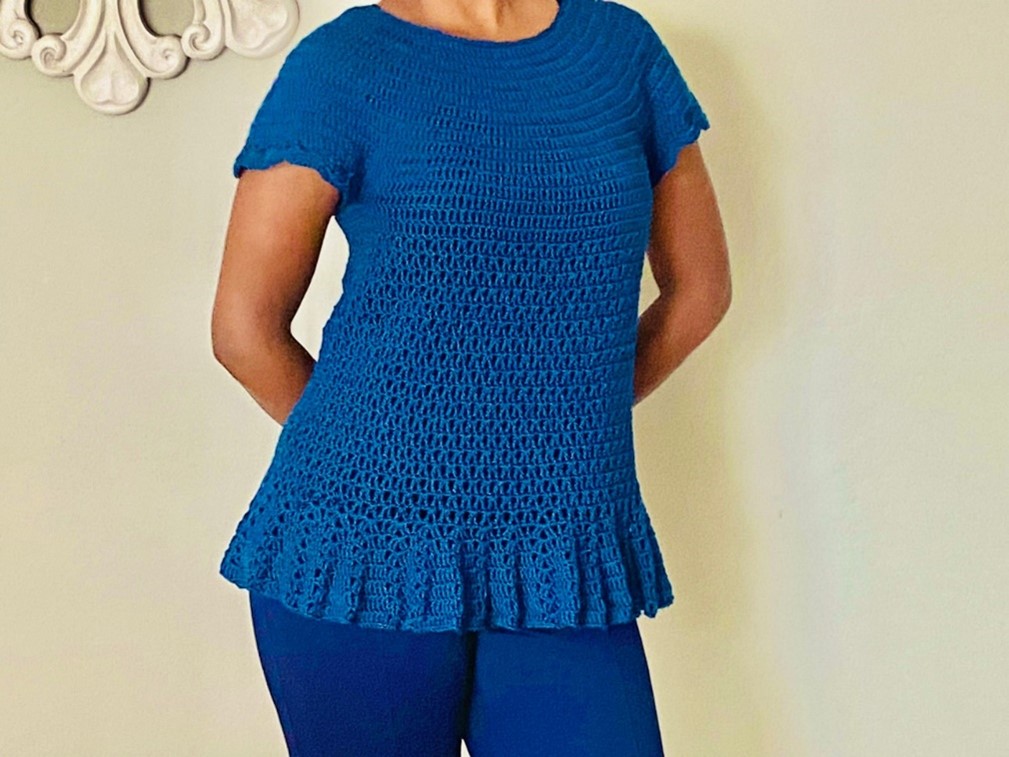
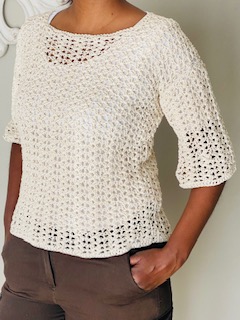
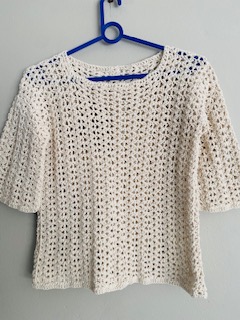
I love my cool, fresh, casual tops. Summer is hot here, where I’m from and I need many of these, so, easy tops are my go to. This was worked up in a jiffy. The stitch pattern works up so quickly. I used 100% cotton for this making doubly sure that it’s comfortable for use in hot weather.
- The Crochet Tee/Top pattern is for sizes from Child 2 years to adult 5XL
- This pattern is worked according to body measurements – All measurements are provided for in the pattern – choose your measurements for your size in order to work the pattern
- This pattern makes use of US crochet terminology
- Measurements are in inches and centimetres
- This pattern is worked in panels: Back, Front and Sleeve x 2
- ch2 counts as a stitch (dc) – Always work a stitch into the ch2 turning chain in order to prevent the piece from going askew
- 2dc-ch2-2dc means working 2 double crochets, chain2, 2 double crochets all into one stitch
- Stitch pattern is in multiples of 6
Stitches and Abbreviations
ch/ch’s = chain/s
st/ st’s = stitch/ es
R = Round
sc = single crochet
dc = double crochet
sl st = slip stitch
sk = skip
sp/ sp’s = space /s
SM = stitch marker
yo = yarn over
Special Stitches
- Foundation Double Crochet
ch2, into the first ch – yo, insert the hook into that ch, pull up a loop (you now have 3 loops on the hook), yo, go through 1 loop on the hook creating a chain (take note of this chain that’s formed – it will be the start of the next st), yo, go through 2 loops on the hook, yo, go through 2 loops on the hook (stitch 1 is now complete), *yo, insert the hook into the chain (go through both loops on this chain), pull up a loop (you now have 3 loops on the hook) yo, go through 1 loop on the hook, (take note of this chain that’s formed – it will be the start of the next st) yo, go through 2 loops on the hook, yo, go through 2 loops on the hook* (stitch 2 is now complete)…. Repeat from *to* to complete foundation round
Materials

Yarn/ wool – 100% cotton – 4ply
3mm Crochet hook, Stitch markers, Scissors, Measuring tape, Yarn/ wool needle
Video Tutorial YouTube
Need help with this pattern, check out
Crochet Easy Lace Top
Pattern
Back Panel
R1
Work a Foundation Double Crochet (See Special Stitches) that when measured, measures the shoulder-to-shoulder measurement (see below) for the size you are making plus 3” or 7,5cm – Do not stretch on the foundation Round when measuring
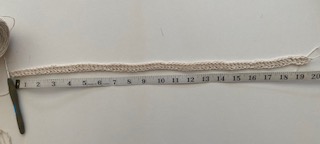
19” for a size M
Shoulder to shoulder measurements
CHILD SIZES
2years 9,5″ or 23,5cm
4years 10″ or 25cm
6years 10,5″ or 26cm
8years 11″ or 27cm
10years 11,5″ or 28,5cm
YOUTH SIZES
12years 12″ or 30,5cm
14years 12,5″ or 31cm
WOMEN SIZES
XS 14,5″ or 37cm
S 15″ or 38cm
M 16″ or 40,5cm
L 17″ or 43cm
XL 17,5″ or 44,5cm
2XL 18″ or 45,5cm
3XL 18″ or 45,5cm
4XL 18,5″ or 47cm
5XL 18,5″ or 47cm
Now count the number of stitches and adjust the stitch count to a multiples of 6 + 1 (increase the stitches to adjust)
R2
ch2, *sk2, 2dc-ch2-2dc, sk2, dc*
Repeat from *to* to end
R3
ch2, turn, 2dc-ch2-2dc into all ch2 sp’s and dc into all dc’s ending with a dc into last st
Repeat R3 until the back panel measures your required length (from shoulder to upper hip or shorter if desired)
Continue on to Back Shoulder (1)
Back Shoulder (1)
R1
Repeat R3 (only work into 4 ch2 sp’s and end with a dc)
Fasten off, cut off excess yarn
Back Shoulder (2)
Attach yarn to the opposite side and repeat as for Back Shoulder (1)
Fasten off, cut off excess yarn
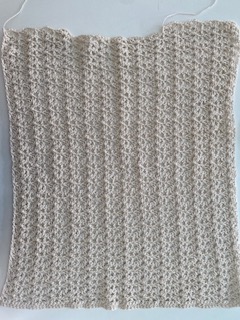
Front Panel
Repeat as for Back Panel – Work the Front Panel 4 Rounds shorter than that of the Back Panel before the shoulders were worked
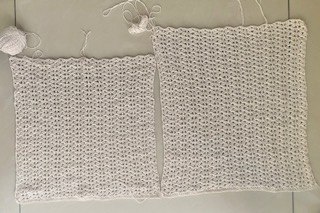
Continue on to Front Shoulder (1)
Front Shoulder (1)
Repeat R3 for 5 Rounds (only work into 4 ch2 sp’s and end with a dc)
Fasten off, cut off excess yarn
Front Shoulder (2)
Attach yarn to the opposite side and repeat as for Front Shoulder (1)
Fasten off, cut off excess yarn
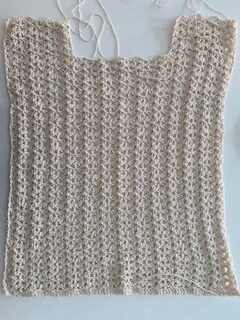
Assembly – With Front panel laid out flat on top of Back panel – seam along the shoulders to join the back and front panels
Sleeve x 2
R1
Work a Foundation Round – this must measure twice the armhole depth for the size you are working – count number of stitches and adjust to a multiple of 6 + 1
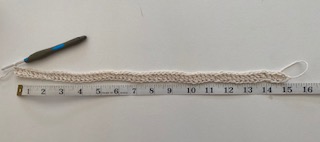
15” for a size M
ARMHOLE DEPTH MEASUREMENTS
CHILD SIZES
2years 4″ or 10,5cm
4years 4,5″ or 12cm
6years 5″ or 12,5cm
8years 5,5″ or 14cm
10years 6″ or 15,5cm
YOUTH SIZES
12 years 6,5″ or 16,5cm
14years 7″ or 17,5cm
WOMEN SIZES
XS 6,5″ or 16,5cm
S 7″ or 17,5cm
M 7,5″ or 19cm
L 8″ or 20,5cm
XL 8,5″ or 21,5cm
2XL 9″ or 23cm
3XL 9,5″ or 24cm
4XL 10″ or 25,5cm
5XL 10,5″ or 26,5cm
R2
ch2, *sk2, 2dc-ch2-2dc, sk2, dc*
Repeat from *to* to end
R3
ch2, turn, 2dc-ch2-2dc into all ch2 sp’s and dc into all dc’s ending with a dc into last st
Repeat R3 until the sleeve panel measures your required length
Continue on to Last Round for sleeve
Last Round (this is the top of the sleeve and will be joined to the body panels)
ch3 (counts as sc and ch2), sc into ch2 sp, ch2, sc into dc, *ch2, sc into ch2 sp, ch2, sc into dc*
Repeat from *to* to end
Fasten off, cut off excess yarn
Repeat for other sleeve
Find the centre of the sleeve by folding in half – mark the folded edge alond the top with a SM
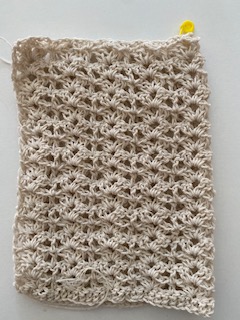
Align the sleeves to the body panels – align SM to the shoulder seam – stitch in place
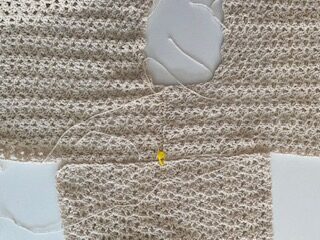
Joining Front and Back at sides – Fold the front panel on top of the back panel, aligning sides and edges well – Seam sides from sleeve to bottom to join
Note – I do explain a different way of joining, however, you will have to watch the video tutorial for this method – (see Video Tutorial for link)
Neckline edging
Attach yarn to the centre back of the neckline
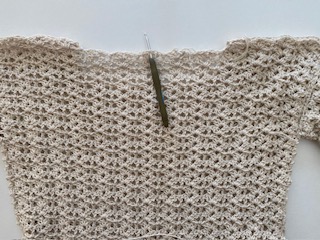
R1
ch2, dc all around the neckline – working a dc into all dc’s and a dc into all ch2 sp’s, sl st to join
Note – there may be areas where there are no st’s to work into – continue with dc’s into the gaps – work your st’s evenly spaced
Fasten off – cut off excess yarn – weave in all the ends to complete
