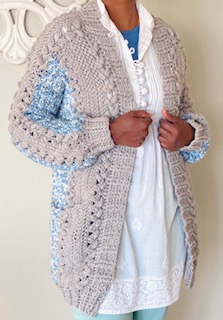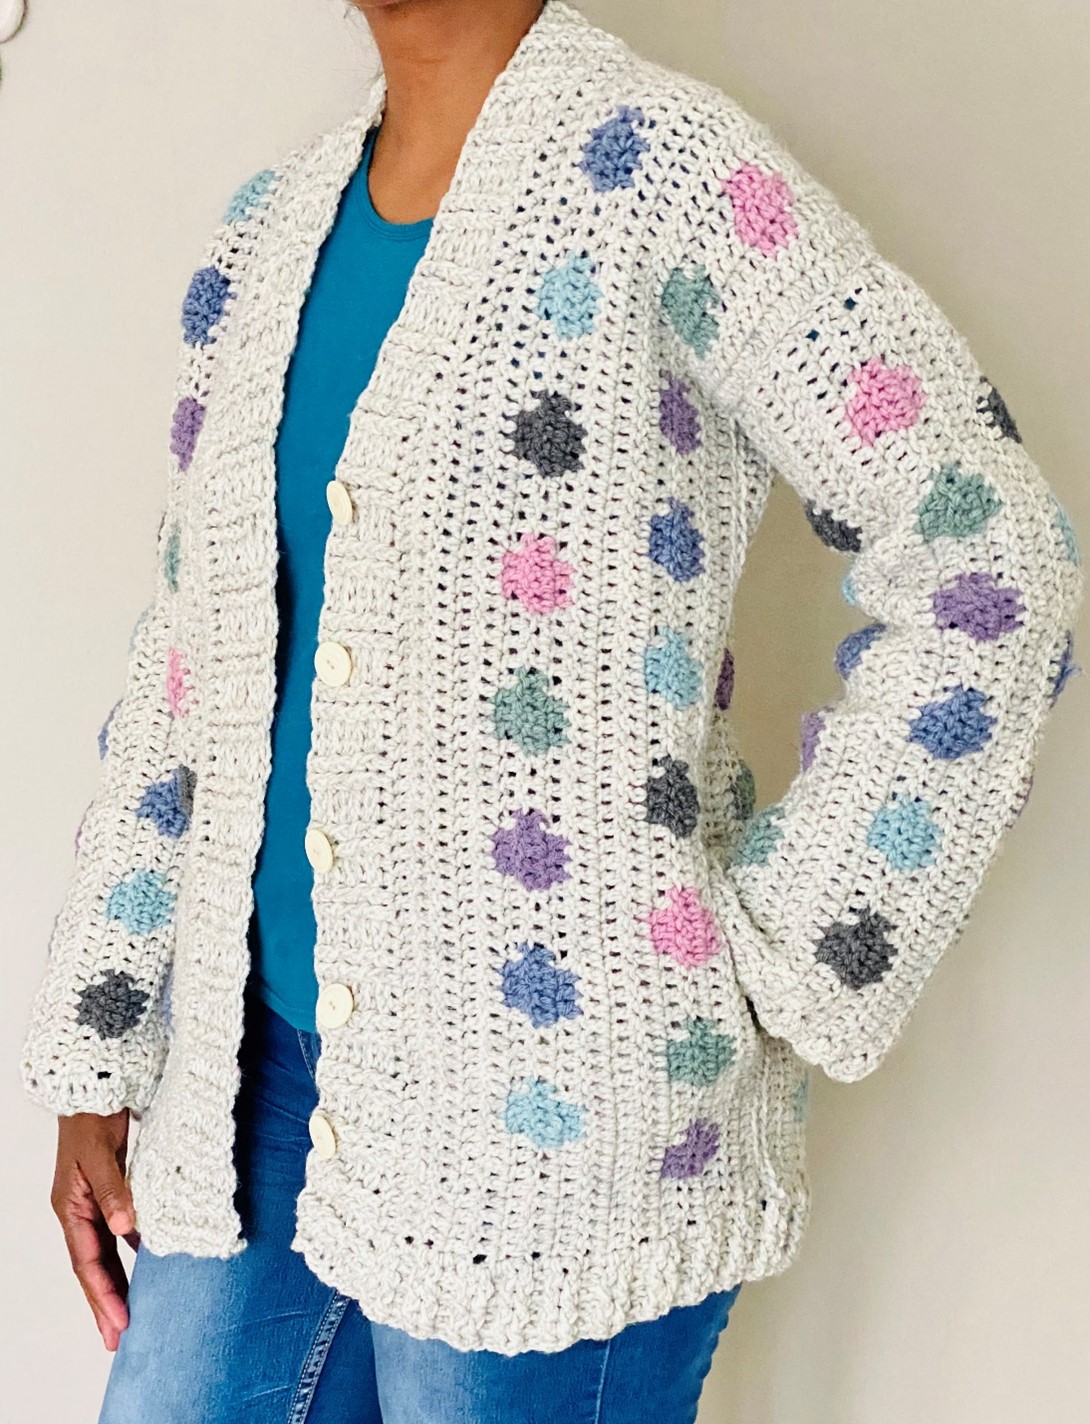
My first hoodie, on a cardigan that is. I love hooded cardigans but I’m fussy about the type of hood. I like them rounded and not pointy. Every pattern I came across for hoodies were the pointed ones so I set about creating one that isn’t. My hooded scarf was the first pattern and this is the second with many more in store. God willing💕
Pattern Notes
- This cardigan is made using one’s own body measurements
- This pattern makes use of US crochet terminology
- Measurements are in inches and centimetres
- This pattern is for sizes:
- Women XS to 5XL
- Youth 12 yrs to 16yrs
- Child 2 yrs to 10 yrs
- Find measurements (shoulder to shoulder and armhole depth) in the pattern as you go along (pages 7, 8, 10, 11)
- I used an Aran/Worsted (category 4) yarn, however using a Double Knit/Light worsted/ category 3 yarn is totally acceptable – use the same hook as recommended on the label of the yarn
- 3dc means 3 double crochets worked into one stitch
- 2dc means 2 double crochets worked into one stitch
- ch3 counts as a stitch
- dc-ch1-dc = all worked into one stitch
- Decrease – yo, insert hook into 1st st, pull up a loop, insert hook into 2nd st, pull up a loop, yo, go through 3 loops on the hook, yo, go through 2 loops on the hook
- Decrease with a sc – insert hook into the 1st st, pull up a loop, insert hook into the 2nd st, pull up a loop, yo, go through all 3 loops on the hook
- Front Post Double Crochet (fpdc) – yo, insert the hook into the post of the stitch, going from the front, pull up a loop, yo, go through 2 loops on the hook, yo, go through 2 loops on the hook
- Back Post Double Crochet (bpdc) – yo, insert the hook into the post of the stitch, going from the back, pull up a loop, yo, go through 2 loops on the hook, yo, go through 2 loops on the hook

Stitches and Abbreviations
ch/ ch’s = chain/s
st/ st’s = stitch/ stitches
sc/ sc’s = single crochet/ s
dc = double crochet
sk = skip
sl st = slip stitch
sp/s = space/es
WS = Wrong side
RS = Right Side
R = Round
SM = Stitch marker
dec = decrease (work one stitch into 2 st’s to decrease)
yo = yarn over
dec with a sc – decrease with a single crochet
fpdc = front post double crochet
bpdc = back post double crochet
Materials
Yarn/ wool 100% Acrylic (I used approx. 820g for a size Medium, also depending on the length)
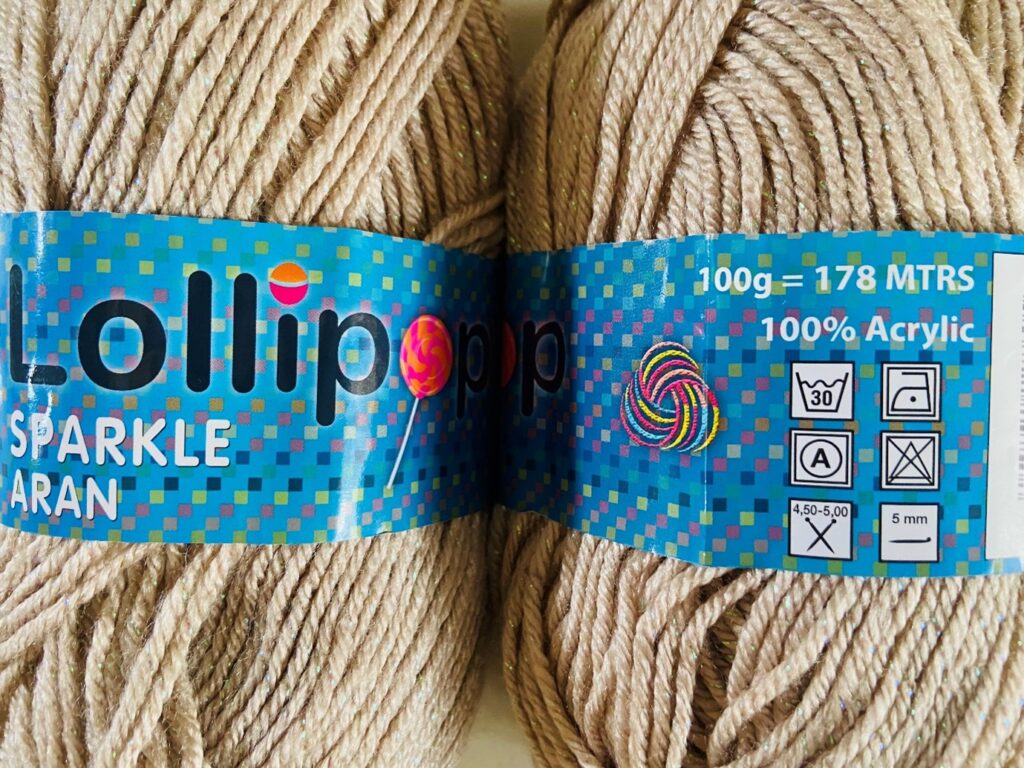
*Image of the Yarn/ Wool I used*
Crochet hook (I used the recommended 5mm hook for this yarn)
Scissors
Stitch markers
Measuring tape
Yarn/ wool needle
Pattern
Back
Foundation Chain
Chain a length of chains to the desired length of the cardigan (measuring from the neckline downwards to the length of the cardigan required)
Once the foundation chain is complete, count the number of chains to make sure that it is in multiples of 4 + 1 (increase to get it to a multiple of 4 + 1, if need be).
R1 (work stitches into the back of the chain as opposed to working them into the front of the chain – work them into the little “bumps” that you see at the back of the chain)
Into the 4th ch from the hook – dc, dc to the end of the ch
R2
ch3, turn, sk 1 st, 3dc into one st, *sk 2 st’s, 3dc into one st*
Repeat from *to* ending with sk 1 st, dc into the last st
R3 (work stitches only into 2nd dc from the set of 3dc)
ch3, turn, *dc-ch1-dc into the 2nd dc from the set of 3dc*
Repeat *to* ending with dc into last st
R4 (work stitches only into spaces in between the 3dc’s)
ch3, turn, *3dc*
Repeat *to* ending with dc into last st
R5
ch3, turn, dc into all st’s
R6
ch3, turn, dc into all st’s
Repeat R2 to R6 to complete the back body panel – until the width of the piece measures the shoulder-to-shoulder measurement plus 2 inches
Shoulder to shoulder measurements
WOMENS MEASUREMENTS (remember to add on an extra 2″ or 5cm)
XS 14,5 inches 37cm
S 15 inches 38cm
M 16 inches 40,5cm
L 17 inches 43cm
XL 17,5 inches 44,5cm
2X 18 inches 45,5cm
3X 18 inches 45,5cm
4X 18,5 inches 47cm
5X 18,5 inches 47cm
YOUTH MEASUREMENTS (remember to add on an extra 1,5 inches/ 4cm):
12yrs 12 inches 30,5cm
14yrs 12,3 inches 31cm
16yrs 13 inches 33cm
CHILD MEASUREMENTS (remember to add on an extra 1 inch/ 2,5cm):
2yrs 9,5 inches 24cm
4yrs 9,7 inches 25cm
6yrs 10,3 inches 26cm
8yrs 10,7 inches 27cm
10yrs 11,3 inches 28.5cm
- Note that you need to end off the back body panel with a Round of dc so that it looks uniform on either end (as you started off with a Round of dc) – so you will end with a R5 repeat
Mark off the neckline and armholes
Neckline:
Fold the back panel in half, along the width of the panel (top edge) – measure 2inches/5cm(Women) or 1,5inches/3,75cm (Youth) or 1,25inches/3,25cm (Child) from the folded edge and mark of both layers with a stitch marker each – the neckline measures 4inches/10cm (Women) or 3inches/7,5cm (Youth) or 2,5inches/6,5cm (Child) in total once the panel is opened flat – place two more SM’s, 4 Rounds away from the SM’s marking off the neckline (alongside the 2 marking off the neckline) – see image below
These 2 additional SM’s will serve as guides for the front panels

Marking off the neckline from the folded edge

The neckline measures 4”/10cm

Place two more SM’s on either side of the one’s marking off the neckline (Note: there’s 4 Rounds in between the outer SM’s and the SM’s marking off the neckline)
Armholes:
- Along the length of the back panel, from the top edge, mark off the armhole depth. Place the measuring tape at the top edge and measure the armhole depth for your size – mark it off with a SM
- Count the number of stitches marked off and use that figure to mark off the armhole depth on the opposite side of the back panel
- Note that the number of stitches for both armholes on either side of the back panel must be the same (Also jot down this number as you will need to use it when working the front panel)
Armhole Depth:
WOMENS MEASUREMENTS
XS 6,5 inches 16,5cm
S 7 inches 17,5cm
M 7,5 inches 19cm
L 8 inches 20,5cm
XL 8,5 inches 21,5cm
2XL 9 inches 23cm
3XL 9,5 inches 24cm
4XL 10 inches 25,5cm
5XL 10,5 inches 26,5cm
YOUTH MEASUREMENTS
12yrs 6,5 inches 16,5cm
14yrs 7 inches 17,5cm
16yrs 7,5 inches 19cm
CHILD MEASUREMENTS
2yrs 4,3 inches 10,5cm
4yrs 4,7 inches 12cm
6yrs 5 inches 12,5cm
8yrs 5,5 inches 14cm
10yrs 6 inches 15,5cm
Front Panel (1) and Front Panel (2)
Attach yarn to the bottom end of the back panel
R1
ch3, dc to SM (which marks off the armhole depth), ch the same number of stitches that you had counted for the armhole depth, ch a further 2ch’s which count as a turning ch
R2
Into the 4th ch from the hook – dc, (Note: work into the back bumps of the ch) – continue with dc’s to the end of the ch, dc to end of the R
R3
ch3, turn, dc into all st’s
Continue to repeat R3 until when you fold the front panel on top of the back panel, aligning the armholes, the front panel ends in line with the first/outermost SM (the one placed as a guide for the front panel)
Repeat R2, R3, R4 and R5 as from the back Body Panel to complete Front Panel (1)
Fasten off, cut off excess yarn.
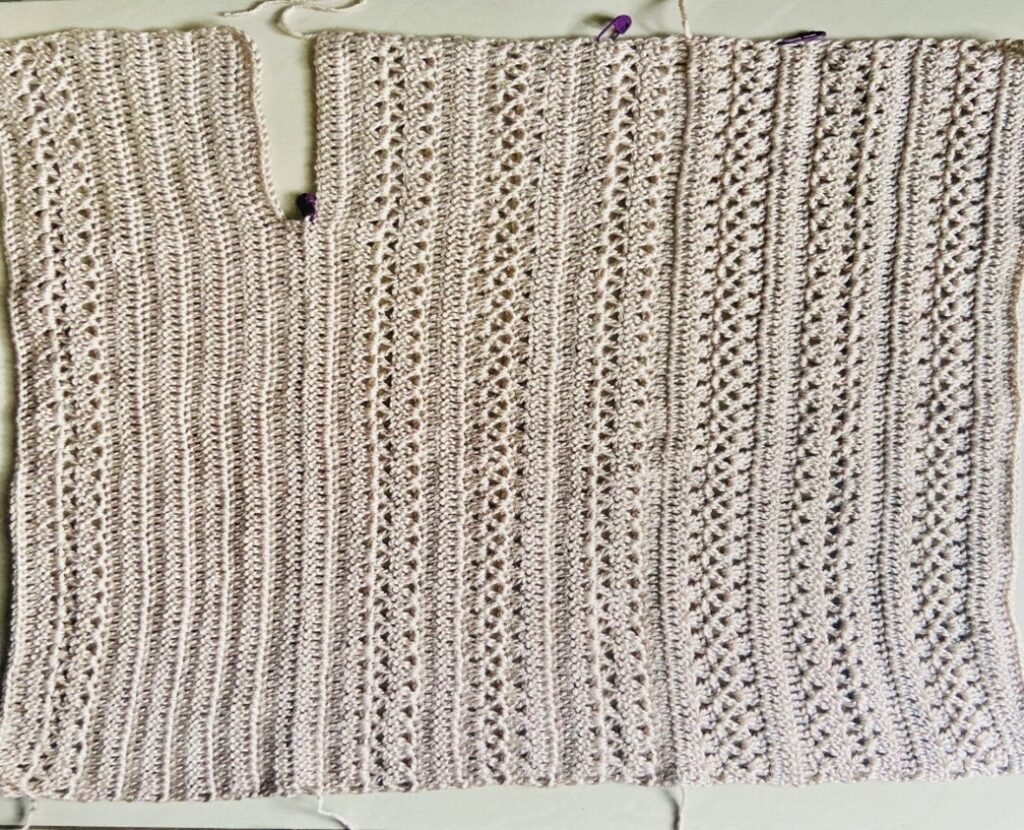
Repeat these steps for Front Panel (2) on the other side of the back panel
Seaming off shoulder seams:
Seam along shoulders on either side – only seam from the outer edge to the 1st SM’s (outer SM’S) on either side of the shoulders
Rounded Hoodie
Attach yarn to the outer top edge of the front panel on one side
R1
ch3, dc to the other end of the front top edge of the front panel (so you are working from the front panel, along the back panel and back to the front panel on the other side) (Note: there are no stitches along the top edge to serve as a guide, therefore make certain that your stitches are evenly spaced and uniform (just as you would work them when you have st’s as a guide)
R2
ch3, turn, dc into all st’s
R3
ch3, turn, dec, dc to 3rd last st, dec
R4
Repeat R3
R5
Repeat R3
R6
ch3, turn dc into all st’s
Repeat R6 until the hoodie measures from your neckline to the crown of your head
Fold along the width (top edge) of the hoodie – place a SM to mark off the folded edge to mark off the halfway point
*ch3, turn, dc to 2 st’s before SM, dec with a sc, sc into the st marked by the SM (replace SM), dec with a sc, dc to end*
Repeat from *to* 8 times
Fasten off, leaving a long tail to help with the seaming
Fold the hoodie in half again and seam together the top edges to close up the hoodie
Sleeves
Attach yarn to the underarm of the armholes
R1
ch3, dc all around the armhole – making certain that your stitch count is in multiples of 3 (decrease if necessary to get your stitch count to a multiple of 3)
R2
ch3, 2dc into same st as ch3, *sk 2, 3dc into one st*
Repeat from *to* ending with sk 2, sl st to join
R3
sl st into the 2nd dc from the set of 3dc, ch4 (counts as dc and ch1) – dc all into the same st, *dc-ch1-dc into 2nd dc from set of 3dc*.
Repeat from *to* to end, sl st to join
R4
sl into ch1 sp, ch3, 2dc into same ch1 sp, *3dc into next ch1 sp*
Repeat from *to* to end, sl st to join
R5 and R6
ch3, dc into all st’s, sl st to join
Note: in order for the sleeve to taper off, work decreases into the R5 repeats as need be – work 3 decreases for each of your decrease rounds as the stitch count needs to be in multiples of 3 (I chose to work a decrease at the start of the Round, one at the middle of the Round and one at the end of the Round)
Repeat R2 to R6 to the length of the desired sleeve (wrist)
Sleeve Edging
R1
ch3, *fpdc, bpdc*
Repeat from *to*, sl st to join
R2 – R3
Repeat R1
Fasten off, cut off excess yarn
Repeat for the other sleeve
Edging of the entire Cardigan
Begin at the hoodie – Attach yarn to the top edge of the hoodie, ch3, dc all around the cardigan, sl st to join
Repeat fpdc alternating with bpdc as was worked for the sleeve edging – however repeat 5 times
Fasten off – cut off the excess yarn
Pockets (make 2)
Foundation ch
Ch24 + 1
Repeat R1 to R6 as from back panel
Repeat R2 to R6 as from back panel
Fasten off – Cut off excess yarn, leaving a long tail to help seam the pockets to the cardi
Decide on the placement of the pocket
Seam along pocket edges to attach to cardi – leaving to edge of pocket unseamed
Fasten off, cut off excess yarn, weave in all the ends
And that’s a wrap 😉
